DIY Self Watering Tray
This post contains affiliate links. If you purchase a product or service with the links that I provide I may receive a small commission. There is no additional charge to you! Thank you for supporting 7Savings.com so I can continue to provide you free content each week! You guys are amazing!
If you are thinking of starting seeds indoors, in a greenhouse or outdoors, you might think 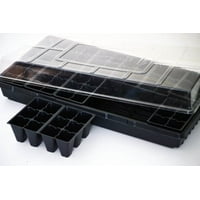 you have limited options for self-watering tray if you don’t buy it. but show that you can make your own self-watering seed starting tray. You can Save Money by making your own tray with aluminum trays, You can reuse or recycle any aluminum tray to do this. Buying a self-watering seed tray like this from the store will cost you at least $12 to $20. germination tray.
How to Get Free Seed Starting Trays
Save Money by making yours, it is Cheap if you buy the aluminum tray and in some case  free if you reuse or recycle the ones you have used for occasions like birthdays. You can buy disposable aluminum trays at stores like Walmart, dollar store Target and many others. they are cheap and would last a few seasons depending on use and care. the best way to get it is to reuse any that was used at an event. all you need to do is wash and rinse out all the food scraps from it and you got yourself a seed tray.
You can get the same or better-growing results with seed starting tray that you make. all you need is a good container (with good depth of about 3 inches that the plant roots can grow into) with holes at the bottom and seed starting mix or soil.
How to Make self-watering Seed Starting Tray
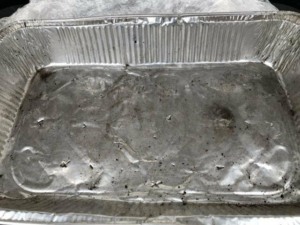
Get two aluminum trays, of the same size and dept, if they have been used, wash and rinse them.

Make about 9 to 12 holes at the bottom of one tray. put the other tray aside for later
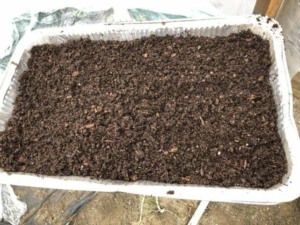
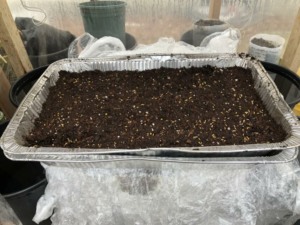
Fill the trays with holes with your seed starter mix. you can save money by making your own seed starter mix. Read my post on how to make your own seed starting mix. Fill the tray up to 80 percent, this will give the seedlings more space for their roots to grow in to.
Get the other tray with no holes and put 2 or 3 pieces of wood or any other material. the wood should be about 1 to 2 inch high. The wood will support the other tray and give you more space to serve as a water reservoir.

Put the tray with seed starter mix inside the tray with the wood, plant your seeds in the seed starter mix (follow the seed package instructions) and thoroughly water the seed starter mix and seeds in the tray.
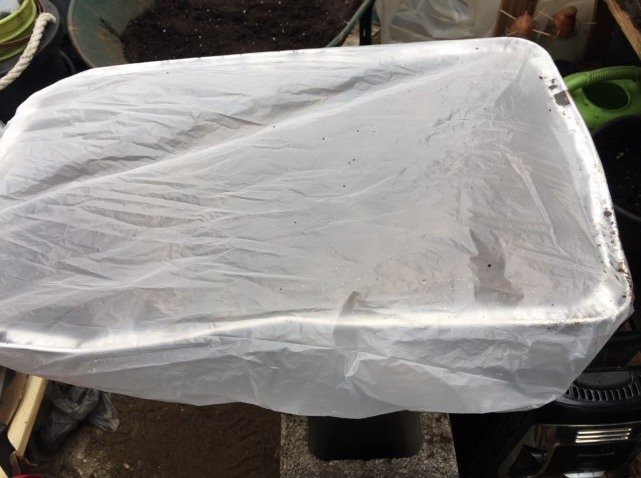
Cover the seeds with a plastic bag or an other aluminum trays and place the tray or container in a warm area.
within a few days or a week, your seeds will begin to germinate. once they germinate and begin to put down more roots, you can start adding water on the bottom tray.

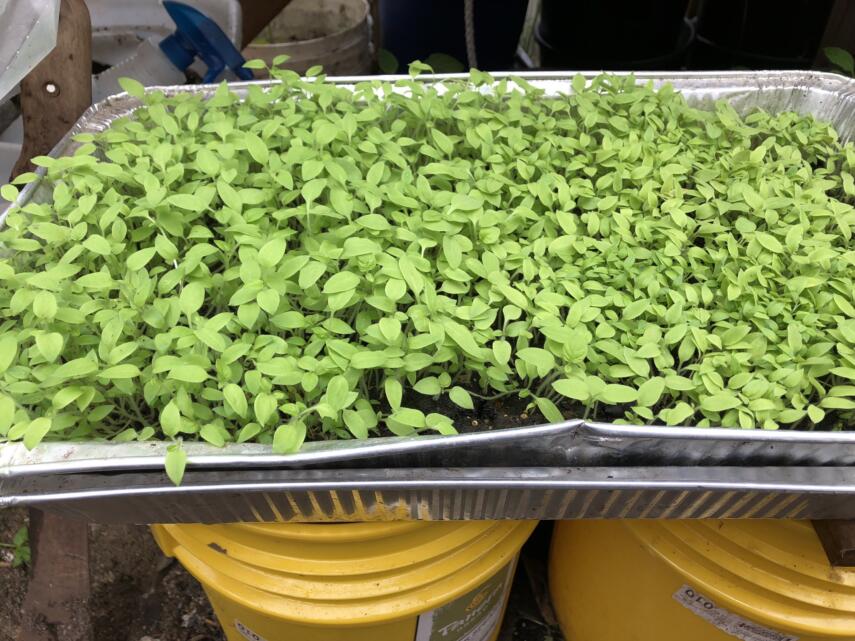
Finally, you have seedlings that you can transplant after the last sign of frost in your area. Read my post on common seed starting problems and how to fix them
Happy Growing!!!
